

This post is and will always live in the house of happy memories in my heart – it was fun, laugh, play and mess time. These moments don’t come again and again. My kids were around and were enjoying making Homemade Ice cream cones and then dipping these in the melted chocolate and then the sprinkles were real fun. Scoops of ice-cream were overloaded. My hands got so sticky; that I was not able to take as many pictures as I wanted to. Together we made a mess. But 🙁 I was the one left for cleaning in the end.
Three big scoops of ice cream in a cone will end up like this

Buying ice cream is what we all do. Making ice-cream few of us do, but making your own ice cream cones is fun if we do. The fresh cones will have a miraculous power to awake your inner child. These are absolutely crisp and light. Let me not forget to tell; easy and creative too.
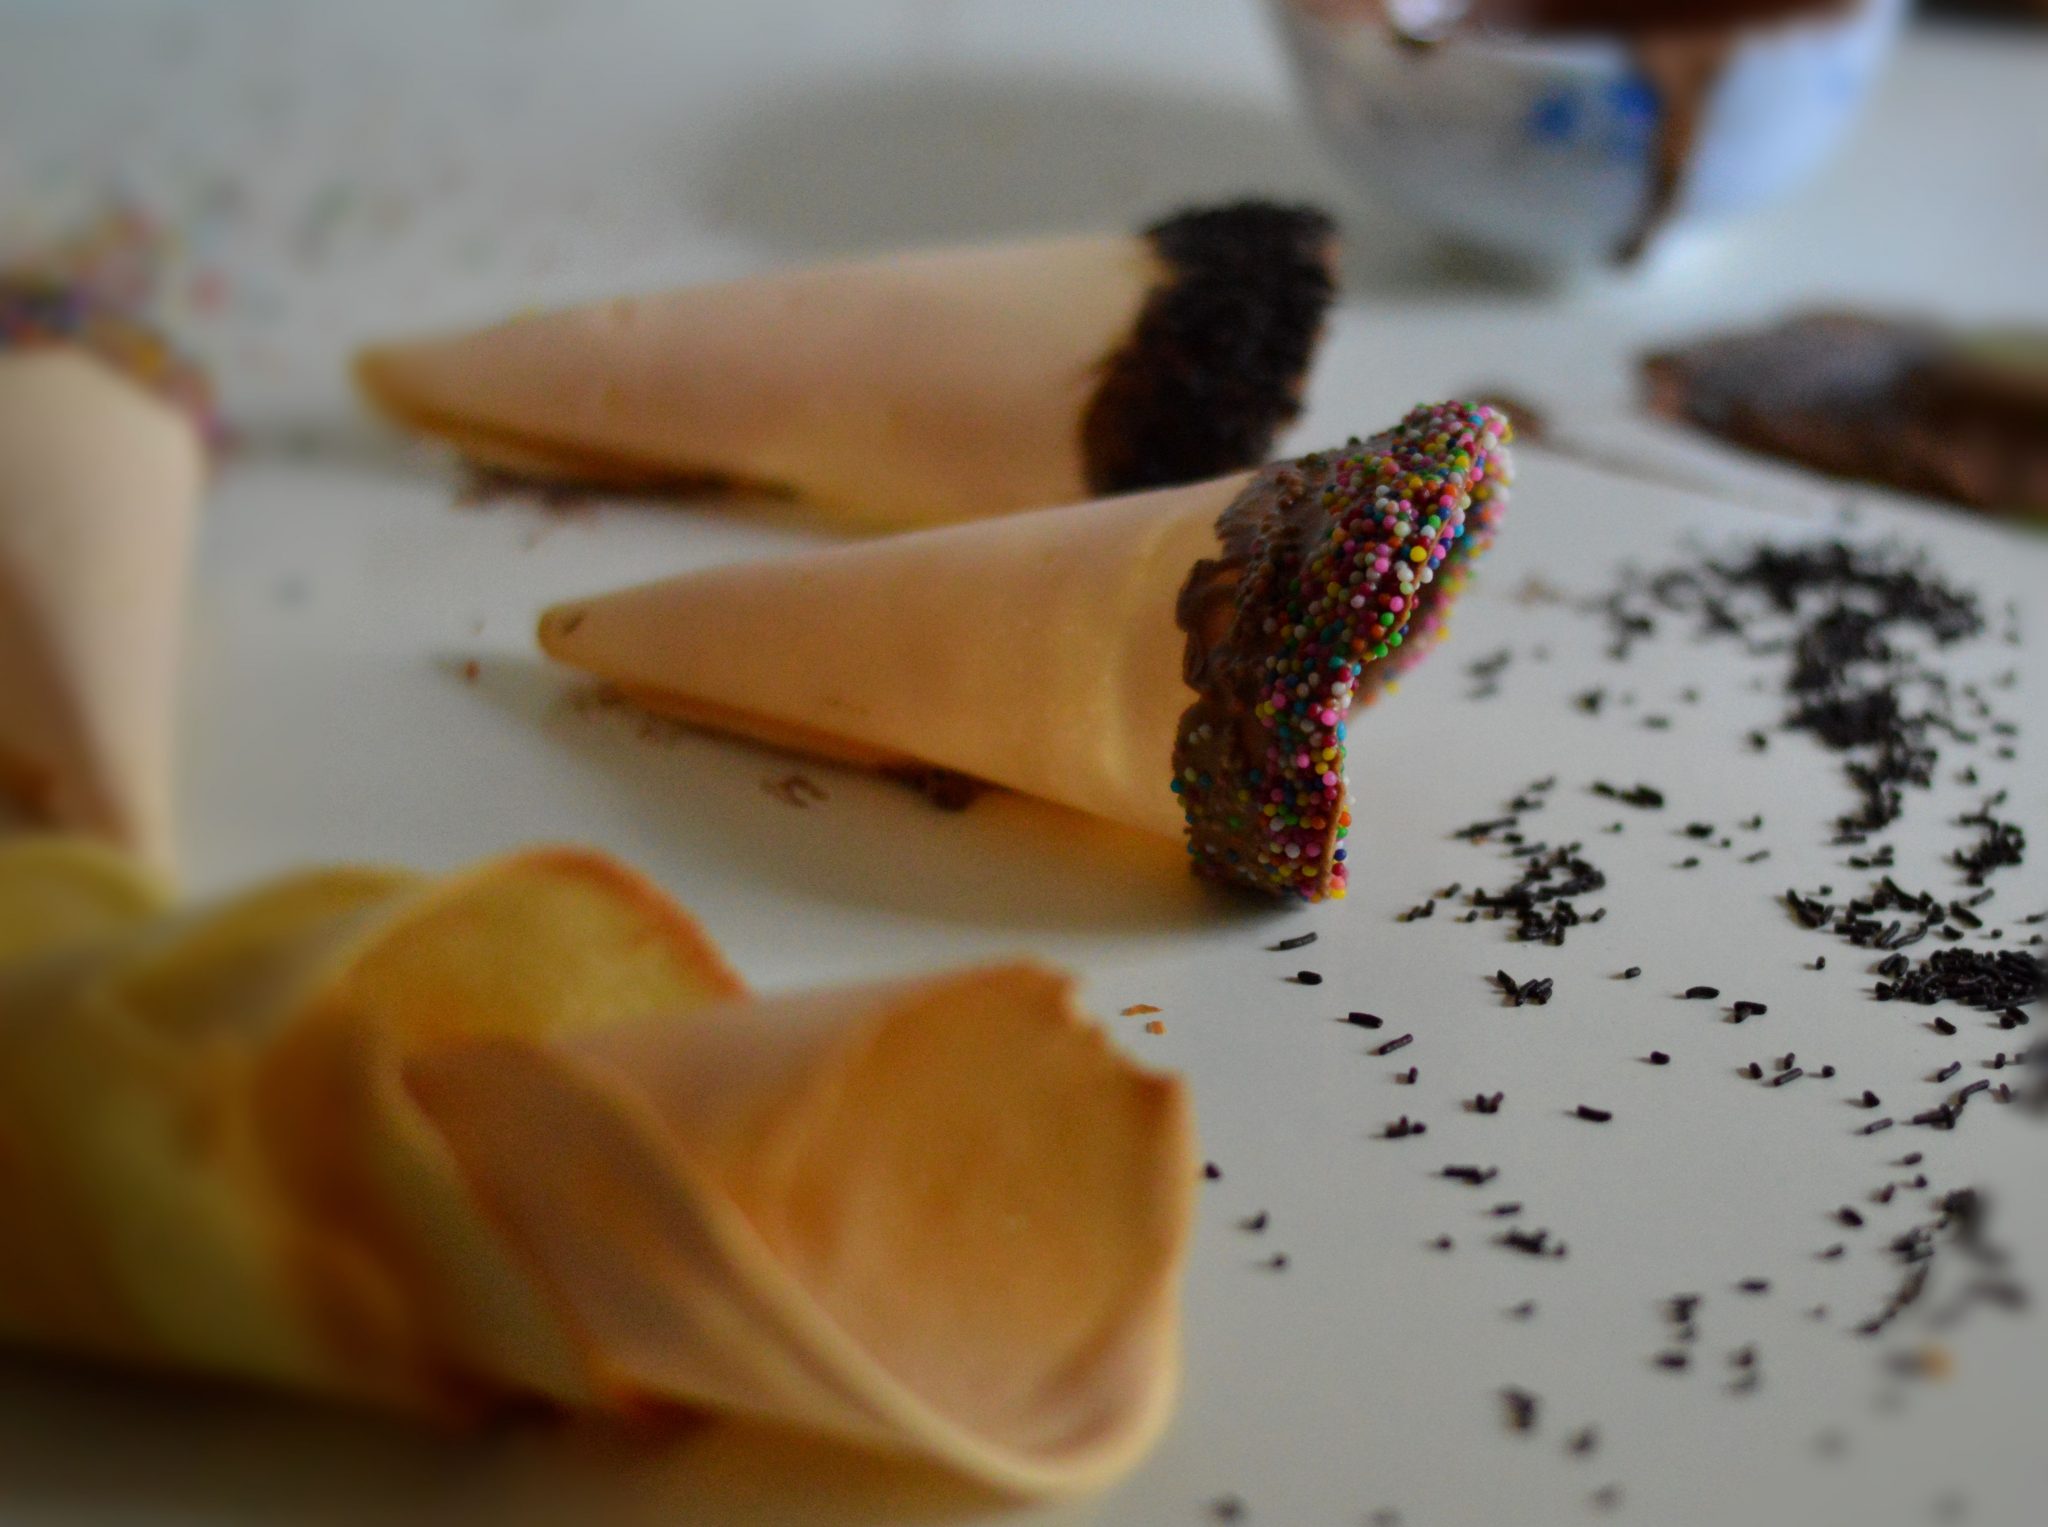
When I stared making these Ice-cream cones in my kitchen Couple of minutes were like OMG what am I doing? I got that comfort level after rolling few and then it was quick. I broke; I think 3 cones while rolling, but those were not wasted. We just ate them as it is. It was like those vanilla scented crispy wafer like bites.
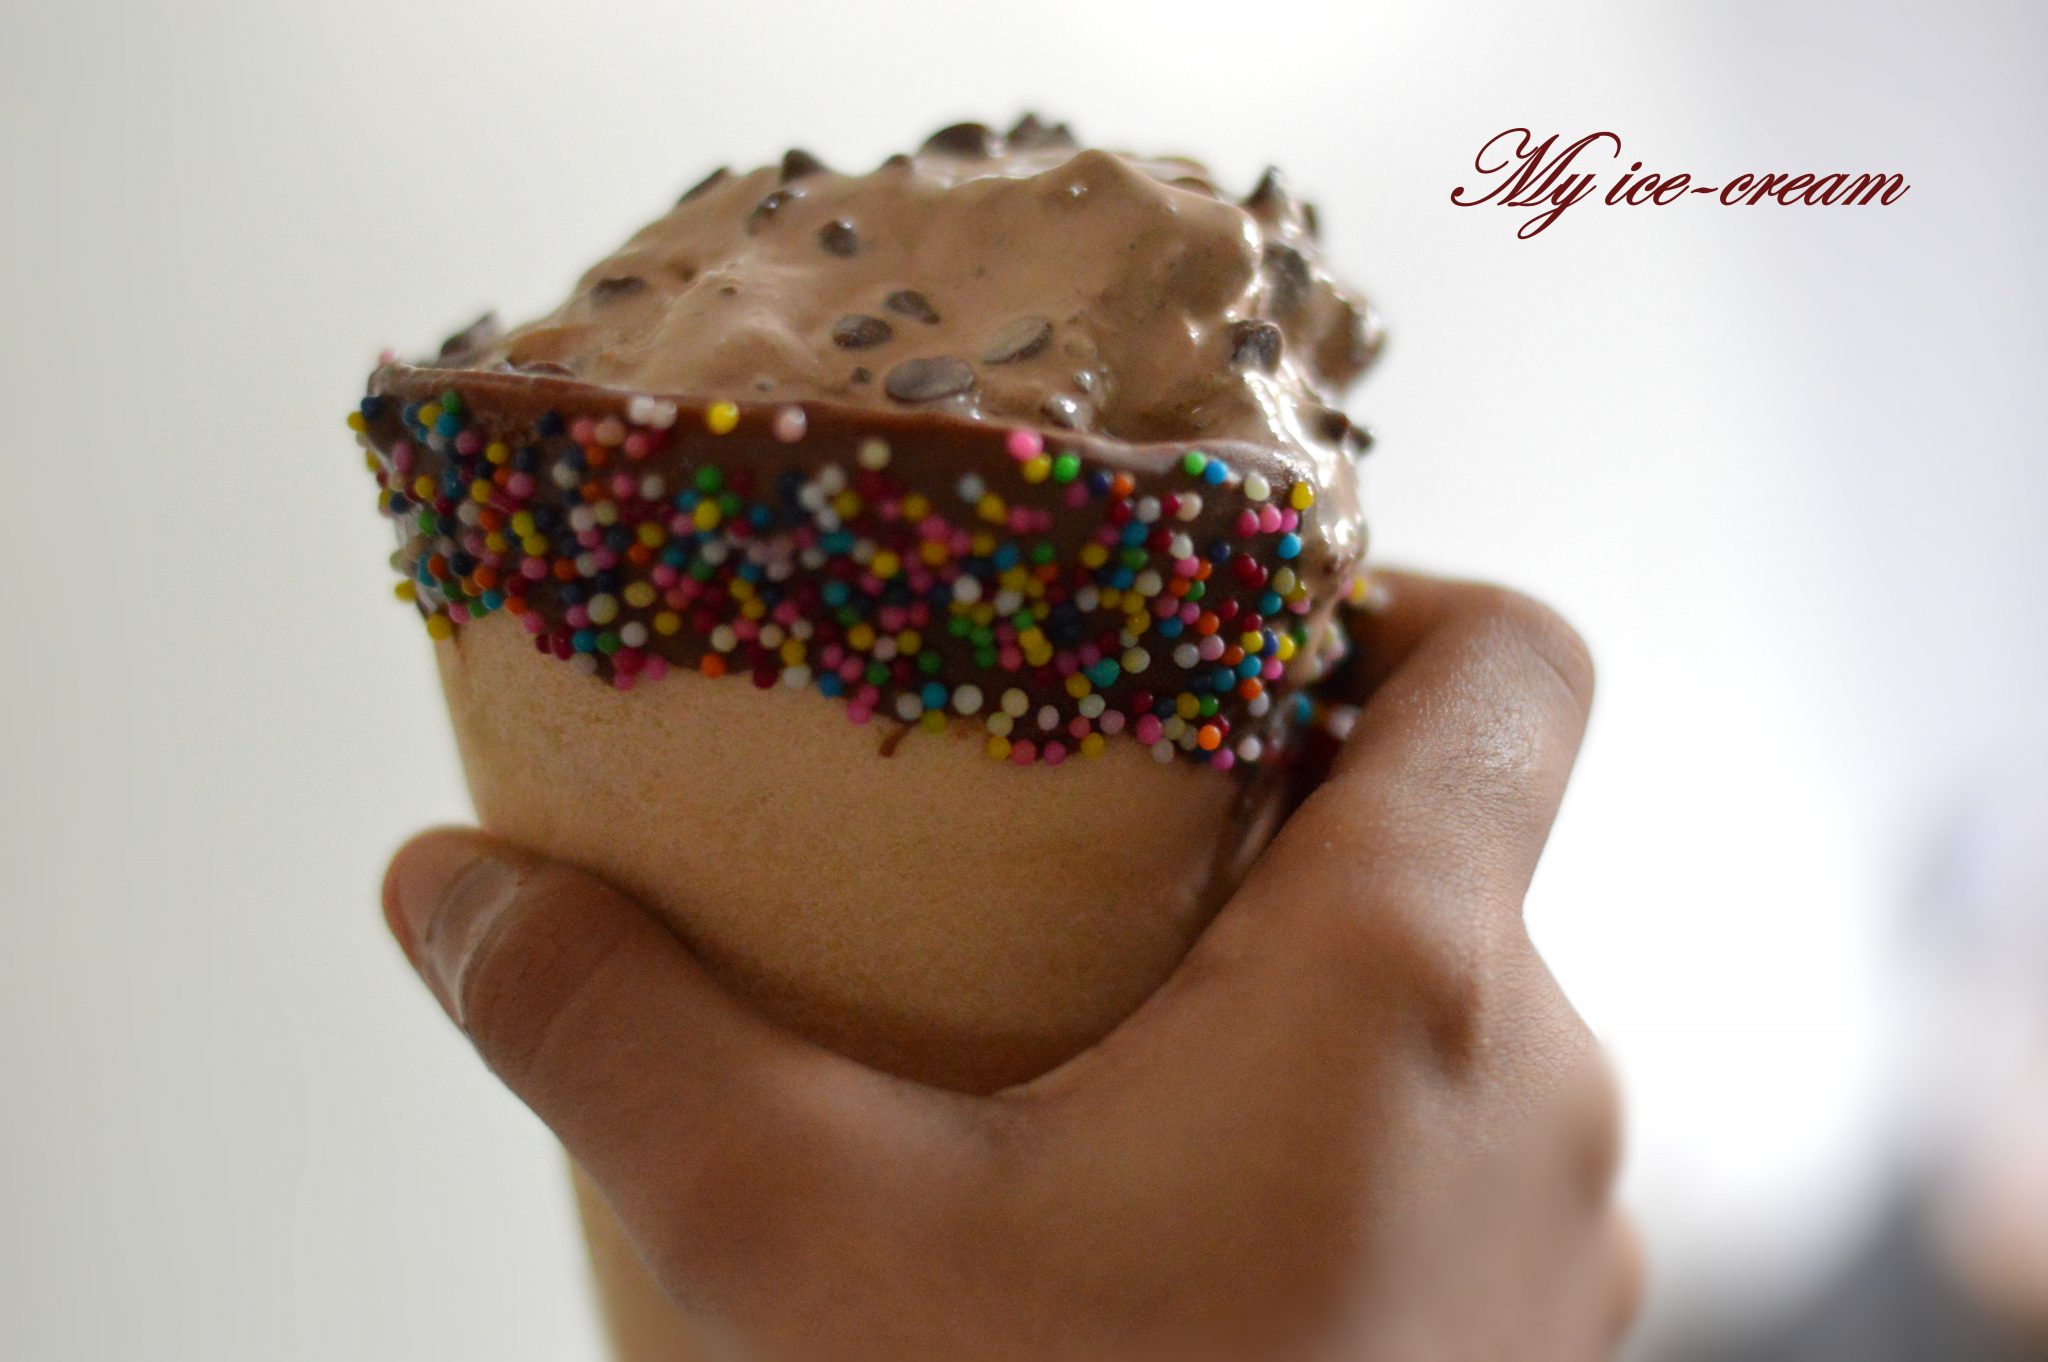
Homemade Ice-cream cones

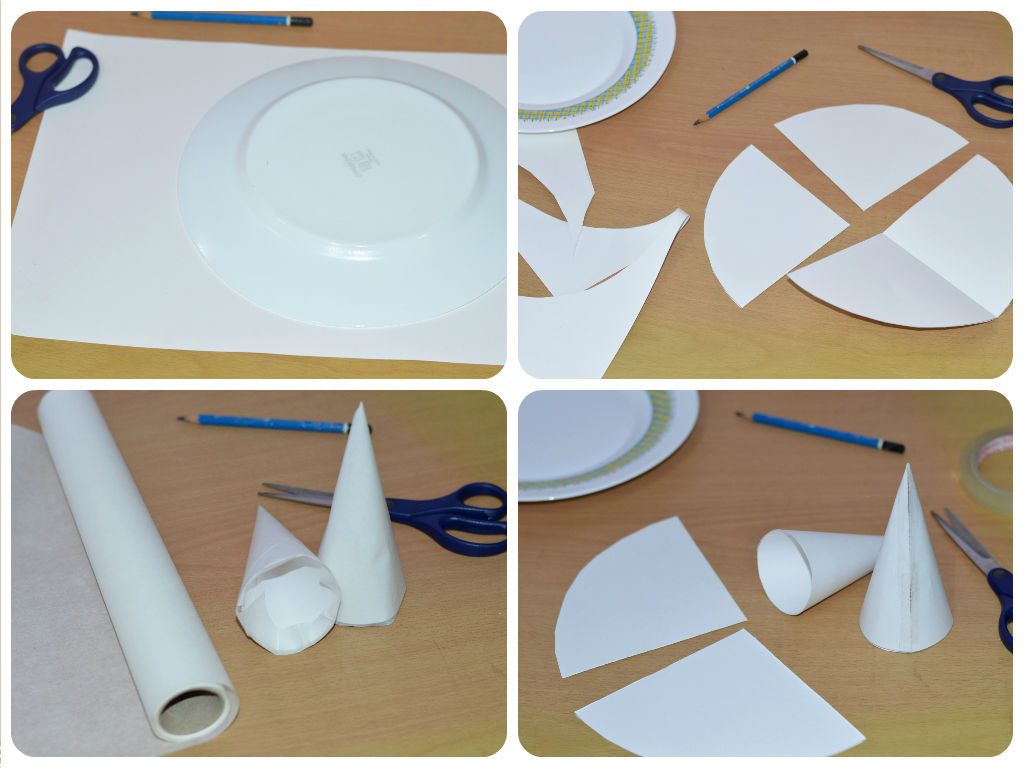
For these Homemade Ice-cream cones you will need a cone shape, on which you will be rolling your cones. Either you buy those ready to use cone rollers or here is an easy way to make your own with cardboard paper. Making these templates will be the first thing you do.
1. Place a plate upside down on a cardboard paper, and trace a circle around it.
2. Fold and divide the circle into four equal quarters, cut these shapes.
3. Roll them into small cones and fix the edges with tape.
4. Cover these rolled out cones with parchment paper neatly. Done.
For the baking tray;
Trace 2 five-inch circles on a sheet of parchment paper, fit to the size of your baking tray. Place the baking tray upside down and lay the traced parchment sheet over. I have covered this with a silicon sheet so I could wipe off the sheet clean after every cone done, before spreading the batter for the next cone.
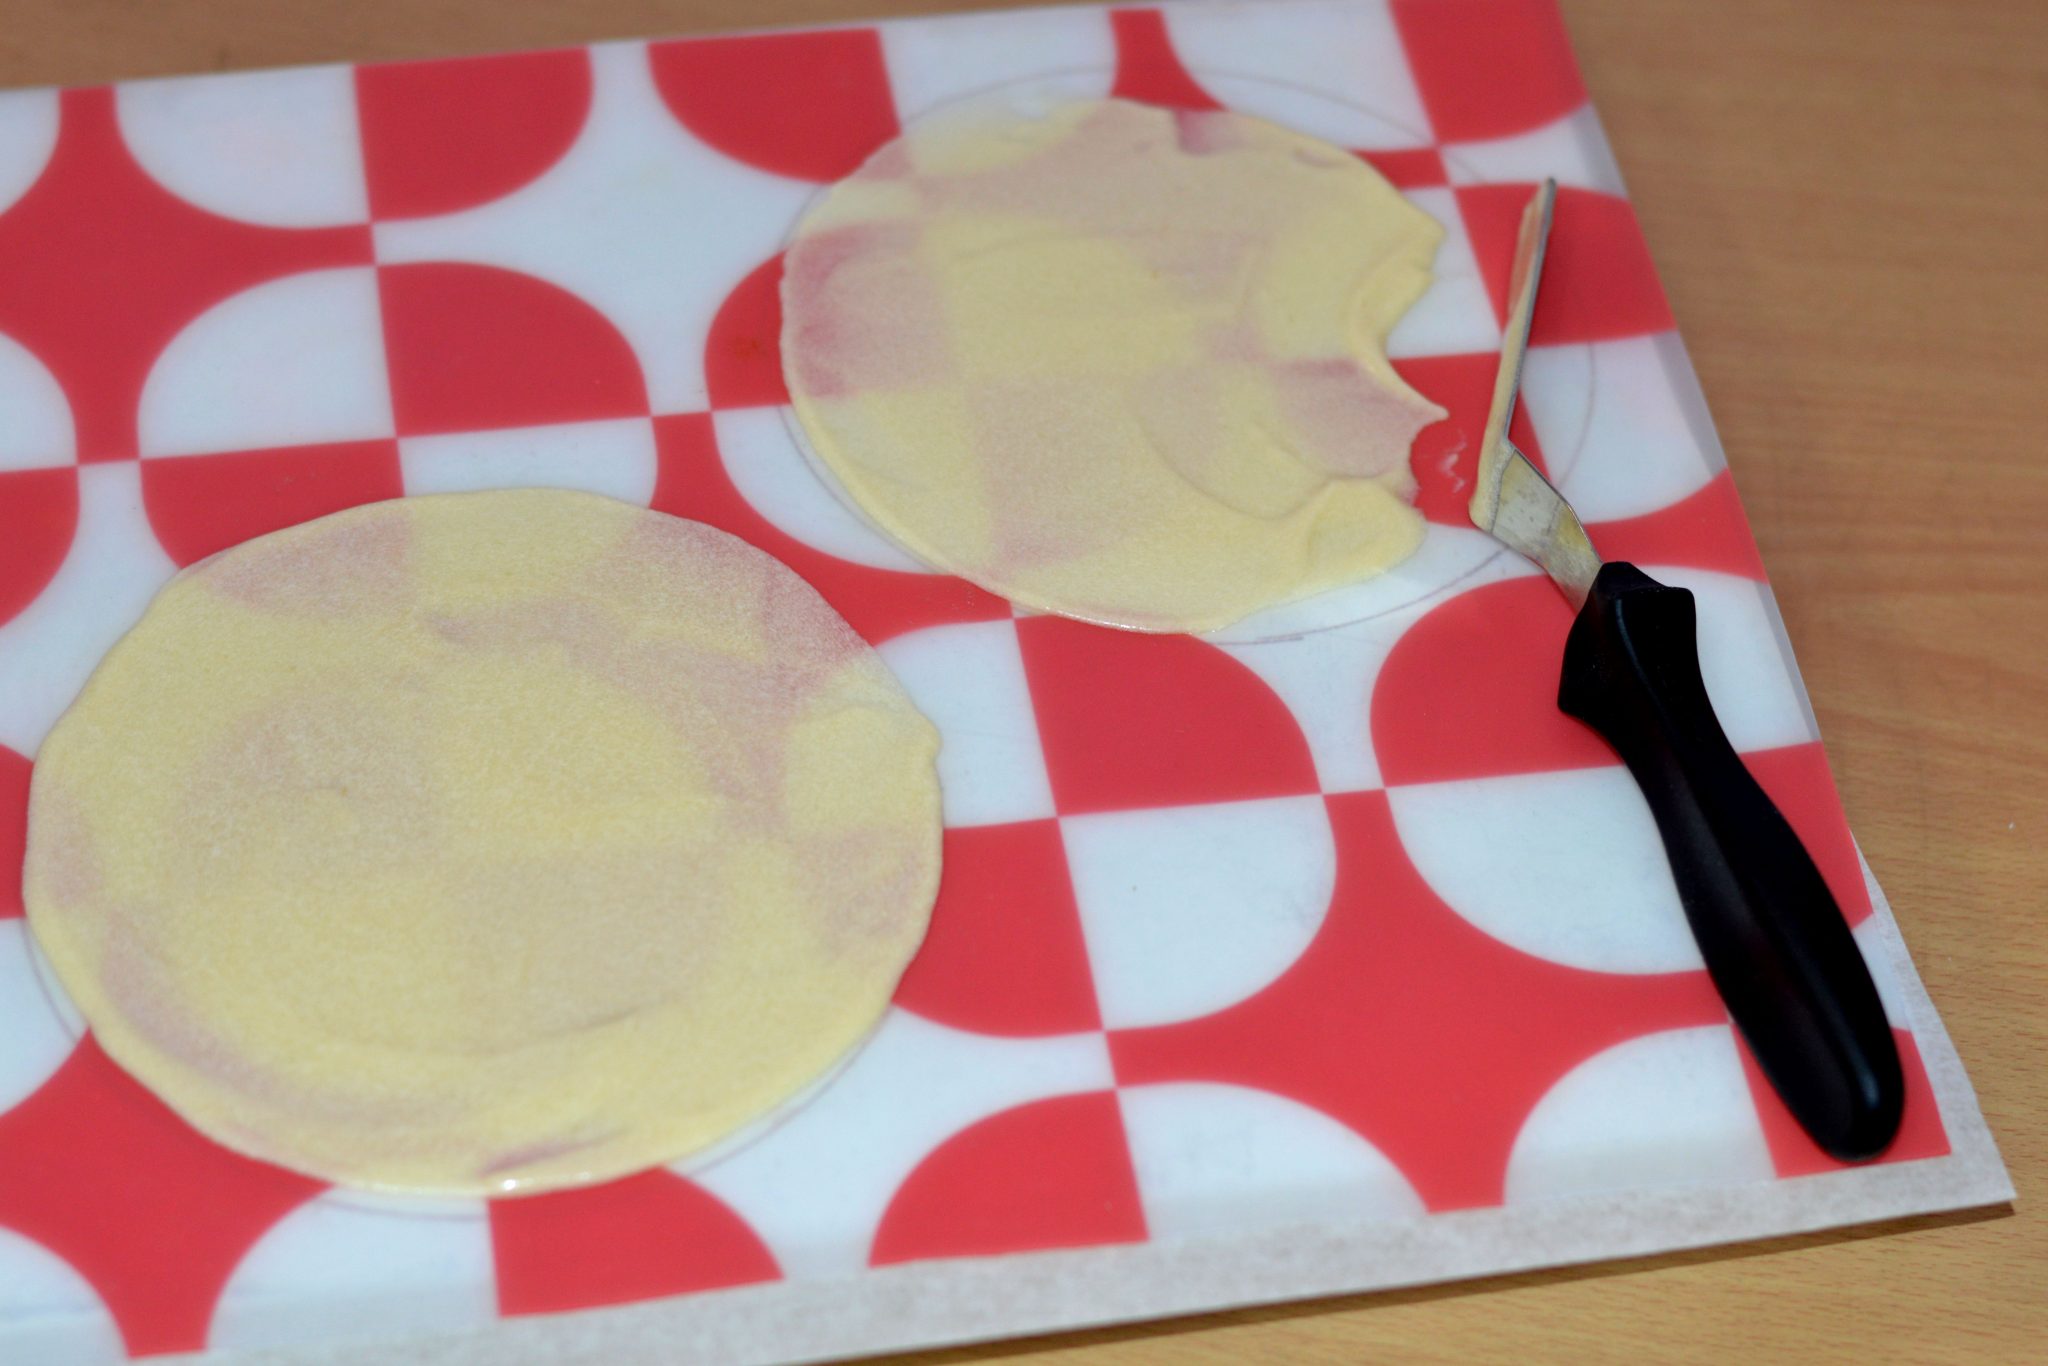
Now few things to read before you start:
1. First of all the consistency of the batter; it very important to have this right. Actually its a cross between crepe batter and cookie batter. Its smooth and not very runny.
2. You will have to work quick with the cones once they are baked. If they cool they will harden into a disc shape. Use a paper towel to handle your cone if it is too hot to touch. Spread, bake and roll. If you find that the second one is got firm into the baking sheet; while you were rolling the first one. Simply keep it back in the hot oven for couple of seconds and will be easy to roll again.
3. When you are rolling, press into the seam and two sides will mold together and will hold the shape.
4. Leave the shaped cones on the mold for at least a minute before moving into the next cone.
5. Dipping these into the melted chocolate and then into the bowl of sprinklers is an option. You can go with any kind of sprinklers, crushed pistachios, or even crushed Oreo(my daughter’s idea).
6. If the narrow end is too big and the cone is already taken a shape. Don’t worry just put a chocolate nutty into the cone before scooping ice cream in.
7. Serve the day you make these or If you have extras store them into an airtight container.


You can see more recipes here
Marshmallows

Red velvet Whoopie pie

Doughnut
